Creating Groups and Grouping
3. Add & Modify Group Members
Step 1: On the Groups page, under Groups (left column), click the group name – Fake Group. The group name will be highlighted, and the Members of... column (on the right), will list any course members who have already been added to the group.
Step 2: If at this point you want to add another group – so your class is split into A/B or you are using small groups for a project – just click on Create Group to create the new group(s)
Step 3: Below the Members of... column (at right), click Add/remove users. The Add/remove users page will open.
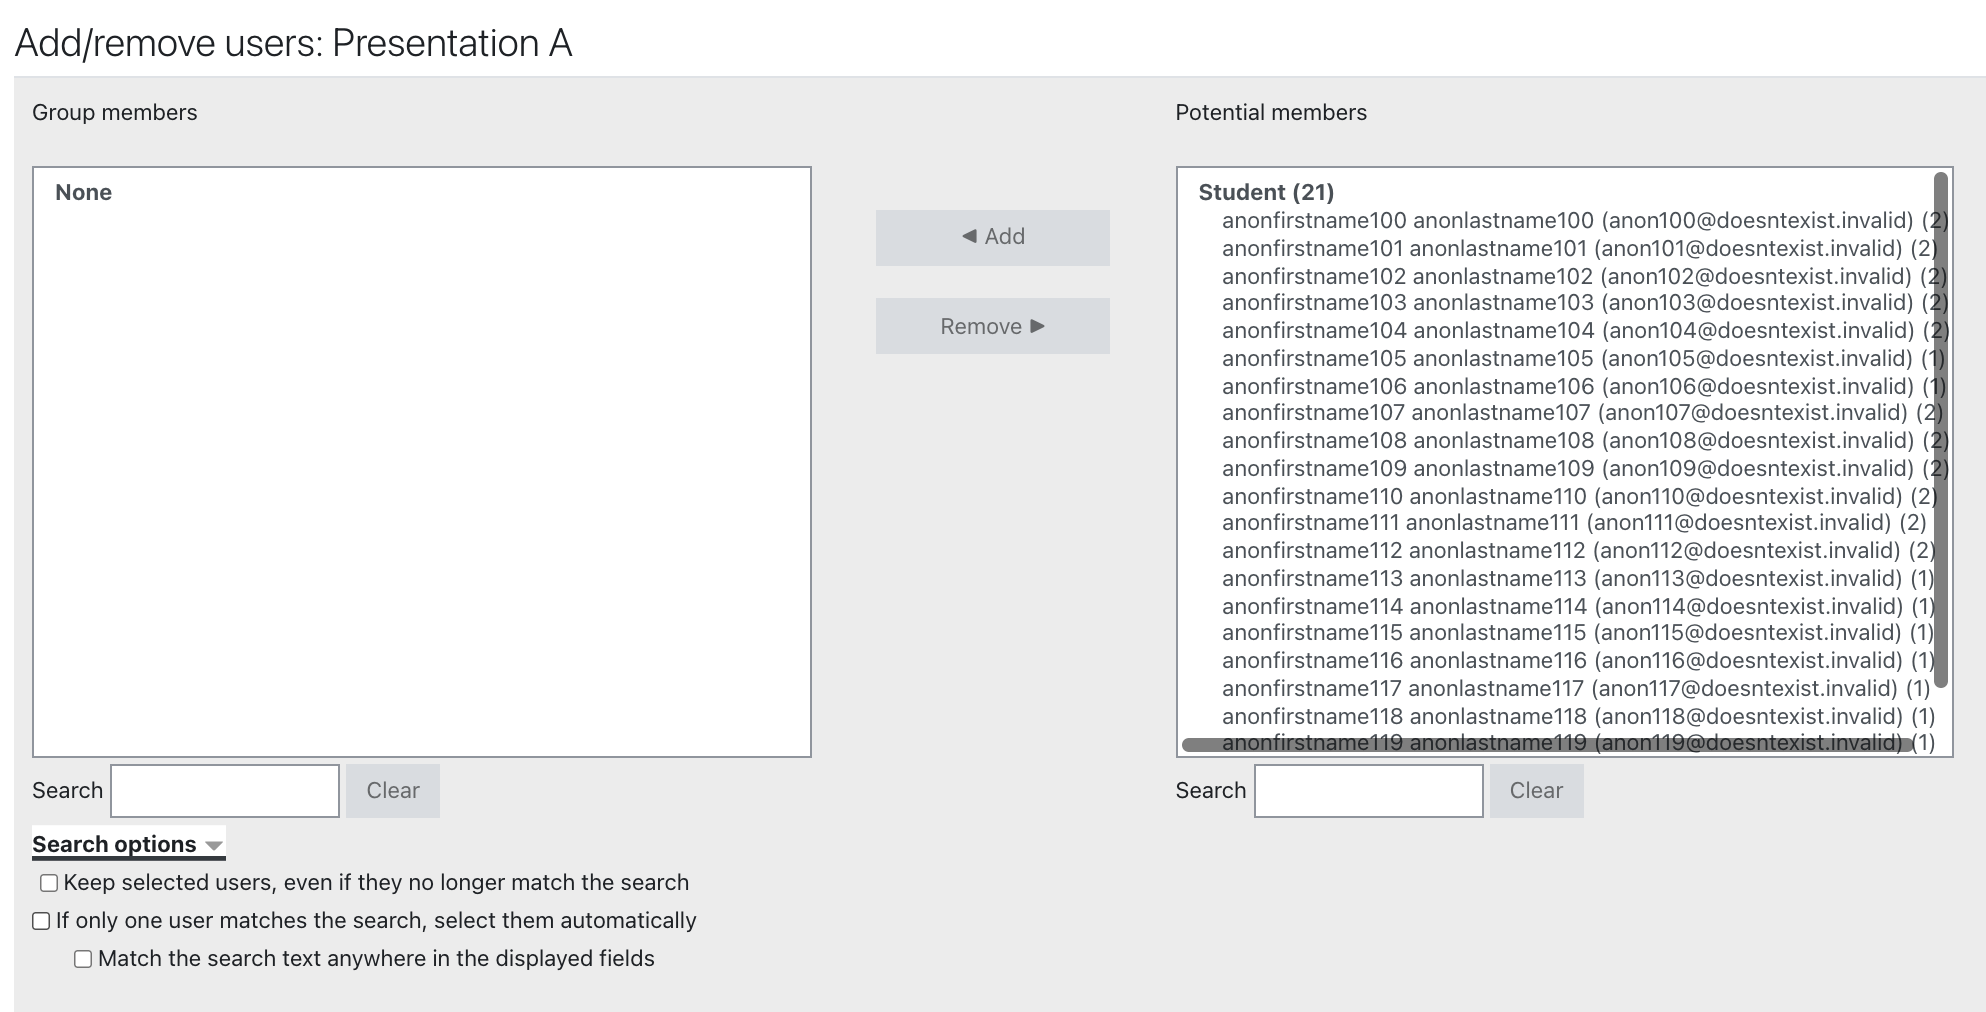
Step 5: To add students to a group:
In the Potential members column (at right), click a Student name to highlight it.
• To select multiple members, hold down the CTRL (Win) or Command (Mac)key while you click.
• If you don't see the student names you're looking for, use the search bar at the bottom of the column.
Once you've selected the names you want to add, click Add to move students into the group. The students' names will be added to the Group members list (at left) and will no longer appear on the Potential members list.
Step 6: To remove students from a group:
In the Group members column (at left), click student names, or to select multiple names, press CTRL - click (Win) or Command - click (Mac), then click Remove. The names will be removed from the group and returned to the Potential members column.
Step 7: When you are finished modifying the group members, click Back to groups.