Adding Resources to Moodle
5. Add a Moodle Folder and Upload Files
To add a folder to Moodle you will need to create Zip folders as in the previous section. Then start as you would for adding a file, so:
Step 1: In the Activity chooser (bottom of the topic box, +Add an activity or resource)
Step 2: Click on the Resources heading and select the Folder icon, then click Add. The Adding a new folder page will open.
Step 3: In the Name field, provide a title for your folder (required). The name you enter will display as the link to the folder on your course page.
Step 4: In the Description field, add a brief description of the folder contents (optional). To display the description on the course page, check Display description on course page (optional).
Step 5: Add files under the Content heading. The easiest way to add files is using drag-and-drop:
Step 6: Arrange your computer's windows so that you can view both the Files area in Moodle and the files on your computer.
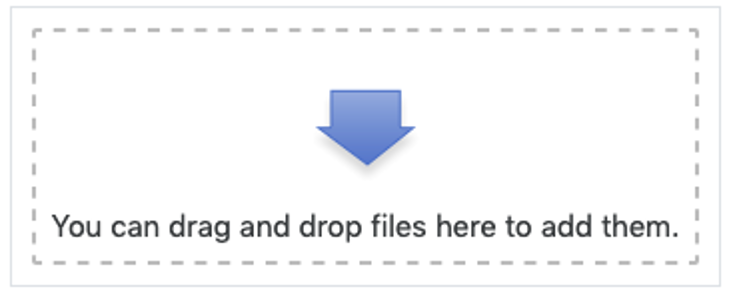
Step 7: Select and drag each file from your computer onto the large blue arrow in the Files area in Moodle.
Note: To upload multiple files at once, hold down the CTRL key on your keyboard (Windows), or the COMMAND key (MAC) as you select each of the files you wish to upload. Then drag the files into the Files area in Moodle.