Adding Resources to Moodle
3. Adding a Photo, Video or Audio
If you want to add audio visual media for a course (photo, video or audio) for a course the easiest way to do this is to start as above:
Step 1: Click on the Activity chooser (bottom of the topic box, +Add an activity or resource), scroll down to the Resources heading and select the File radio button, then click Add.
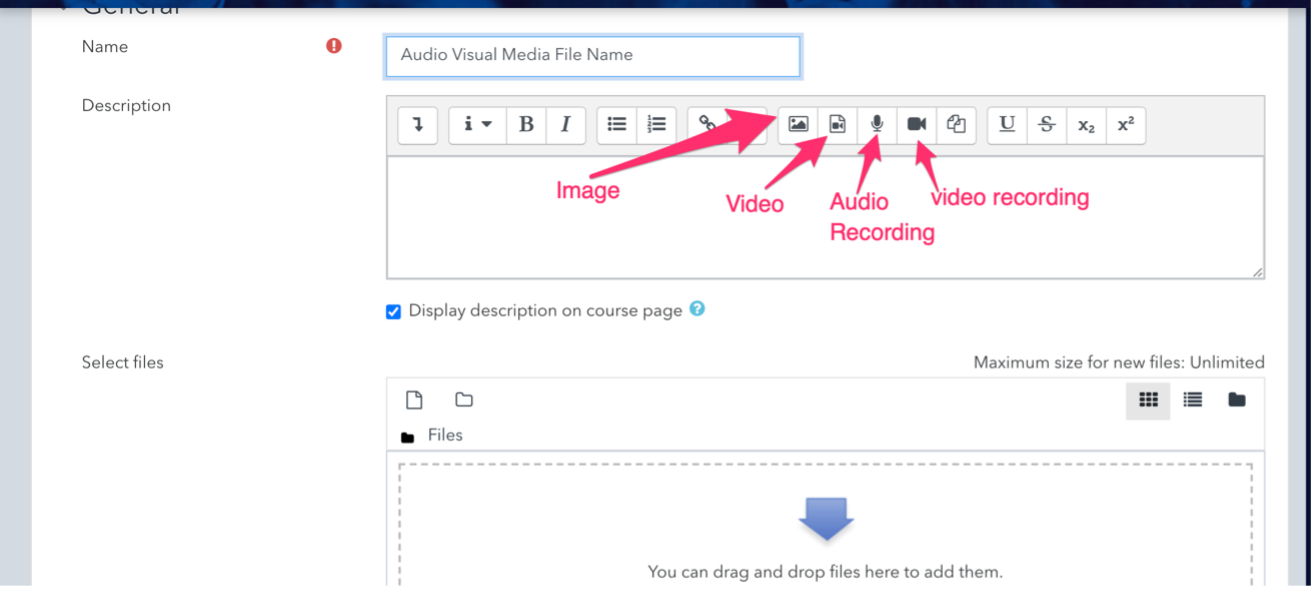
Step 2: Add the name of the file you are adding and then choose the image, video, audio recording or video recording button.
 For a photo you click on
the landscape button and name and add your photo.
For a photo you click on
the landscape button and name and add your photo.
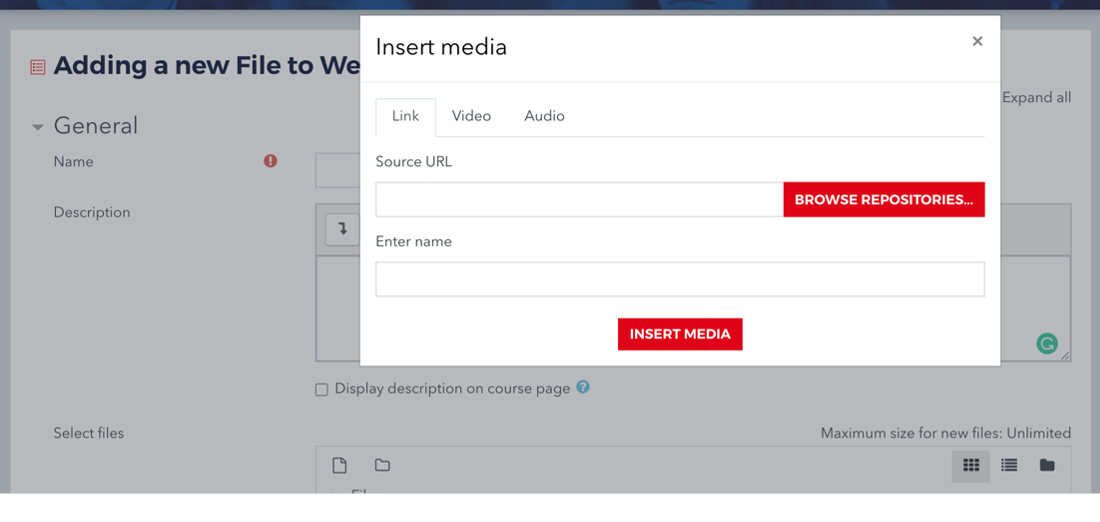
For pre-recorded video or audio, click on the second button and add your source URL and enter the name you wish to save it under (make it something obvious for your students) then click insert media.
If you wish to record yourself either as audio or video then click on the corresponding button and the following box will appear.
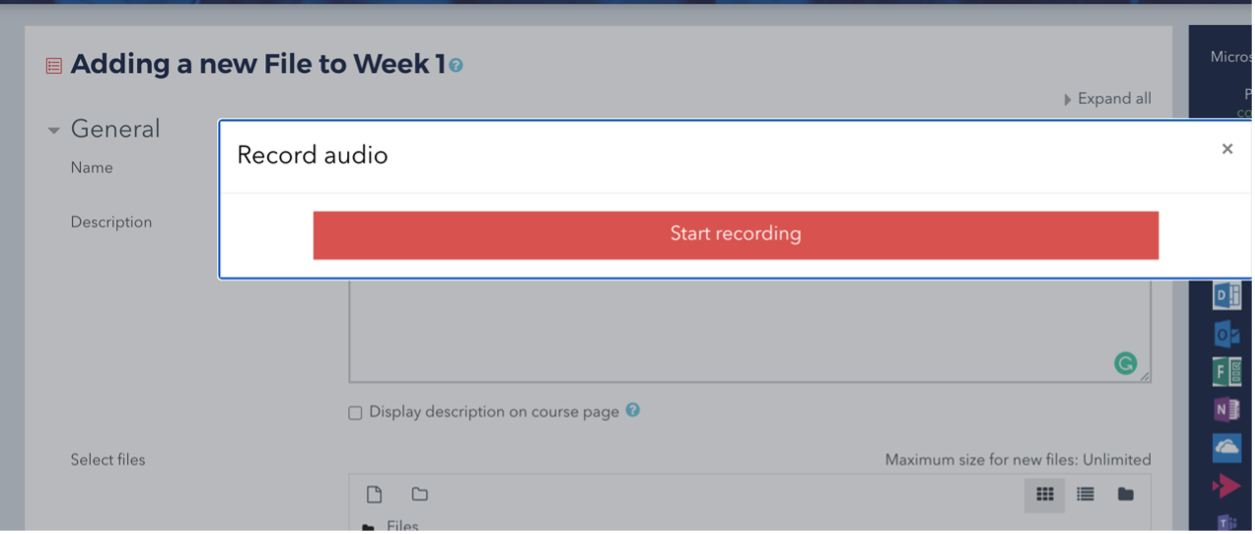
Press on the red Start recording box and away you go.
At the end remember to click on Save and return to course at the bottom of the page.